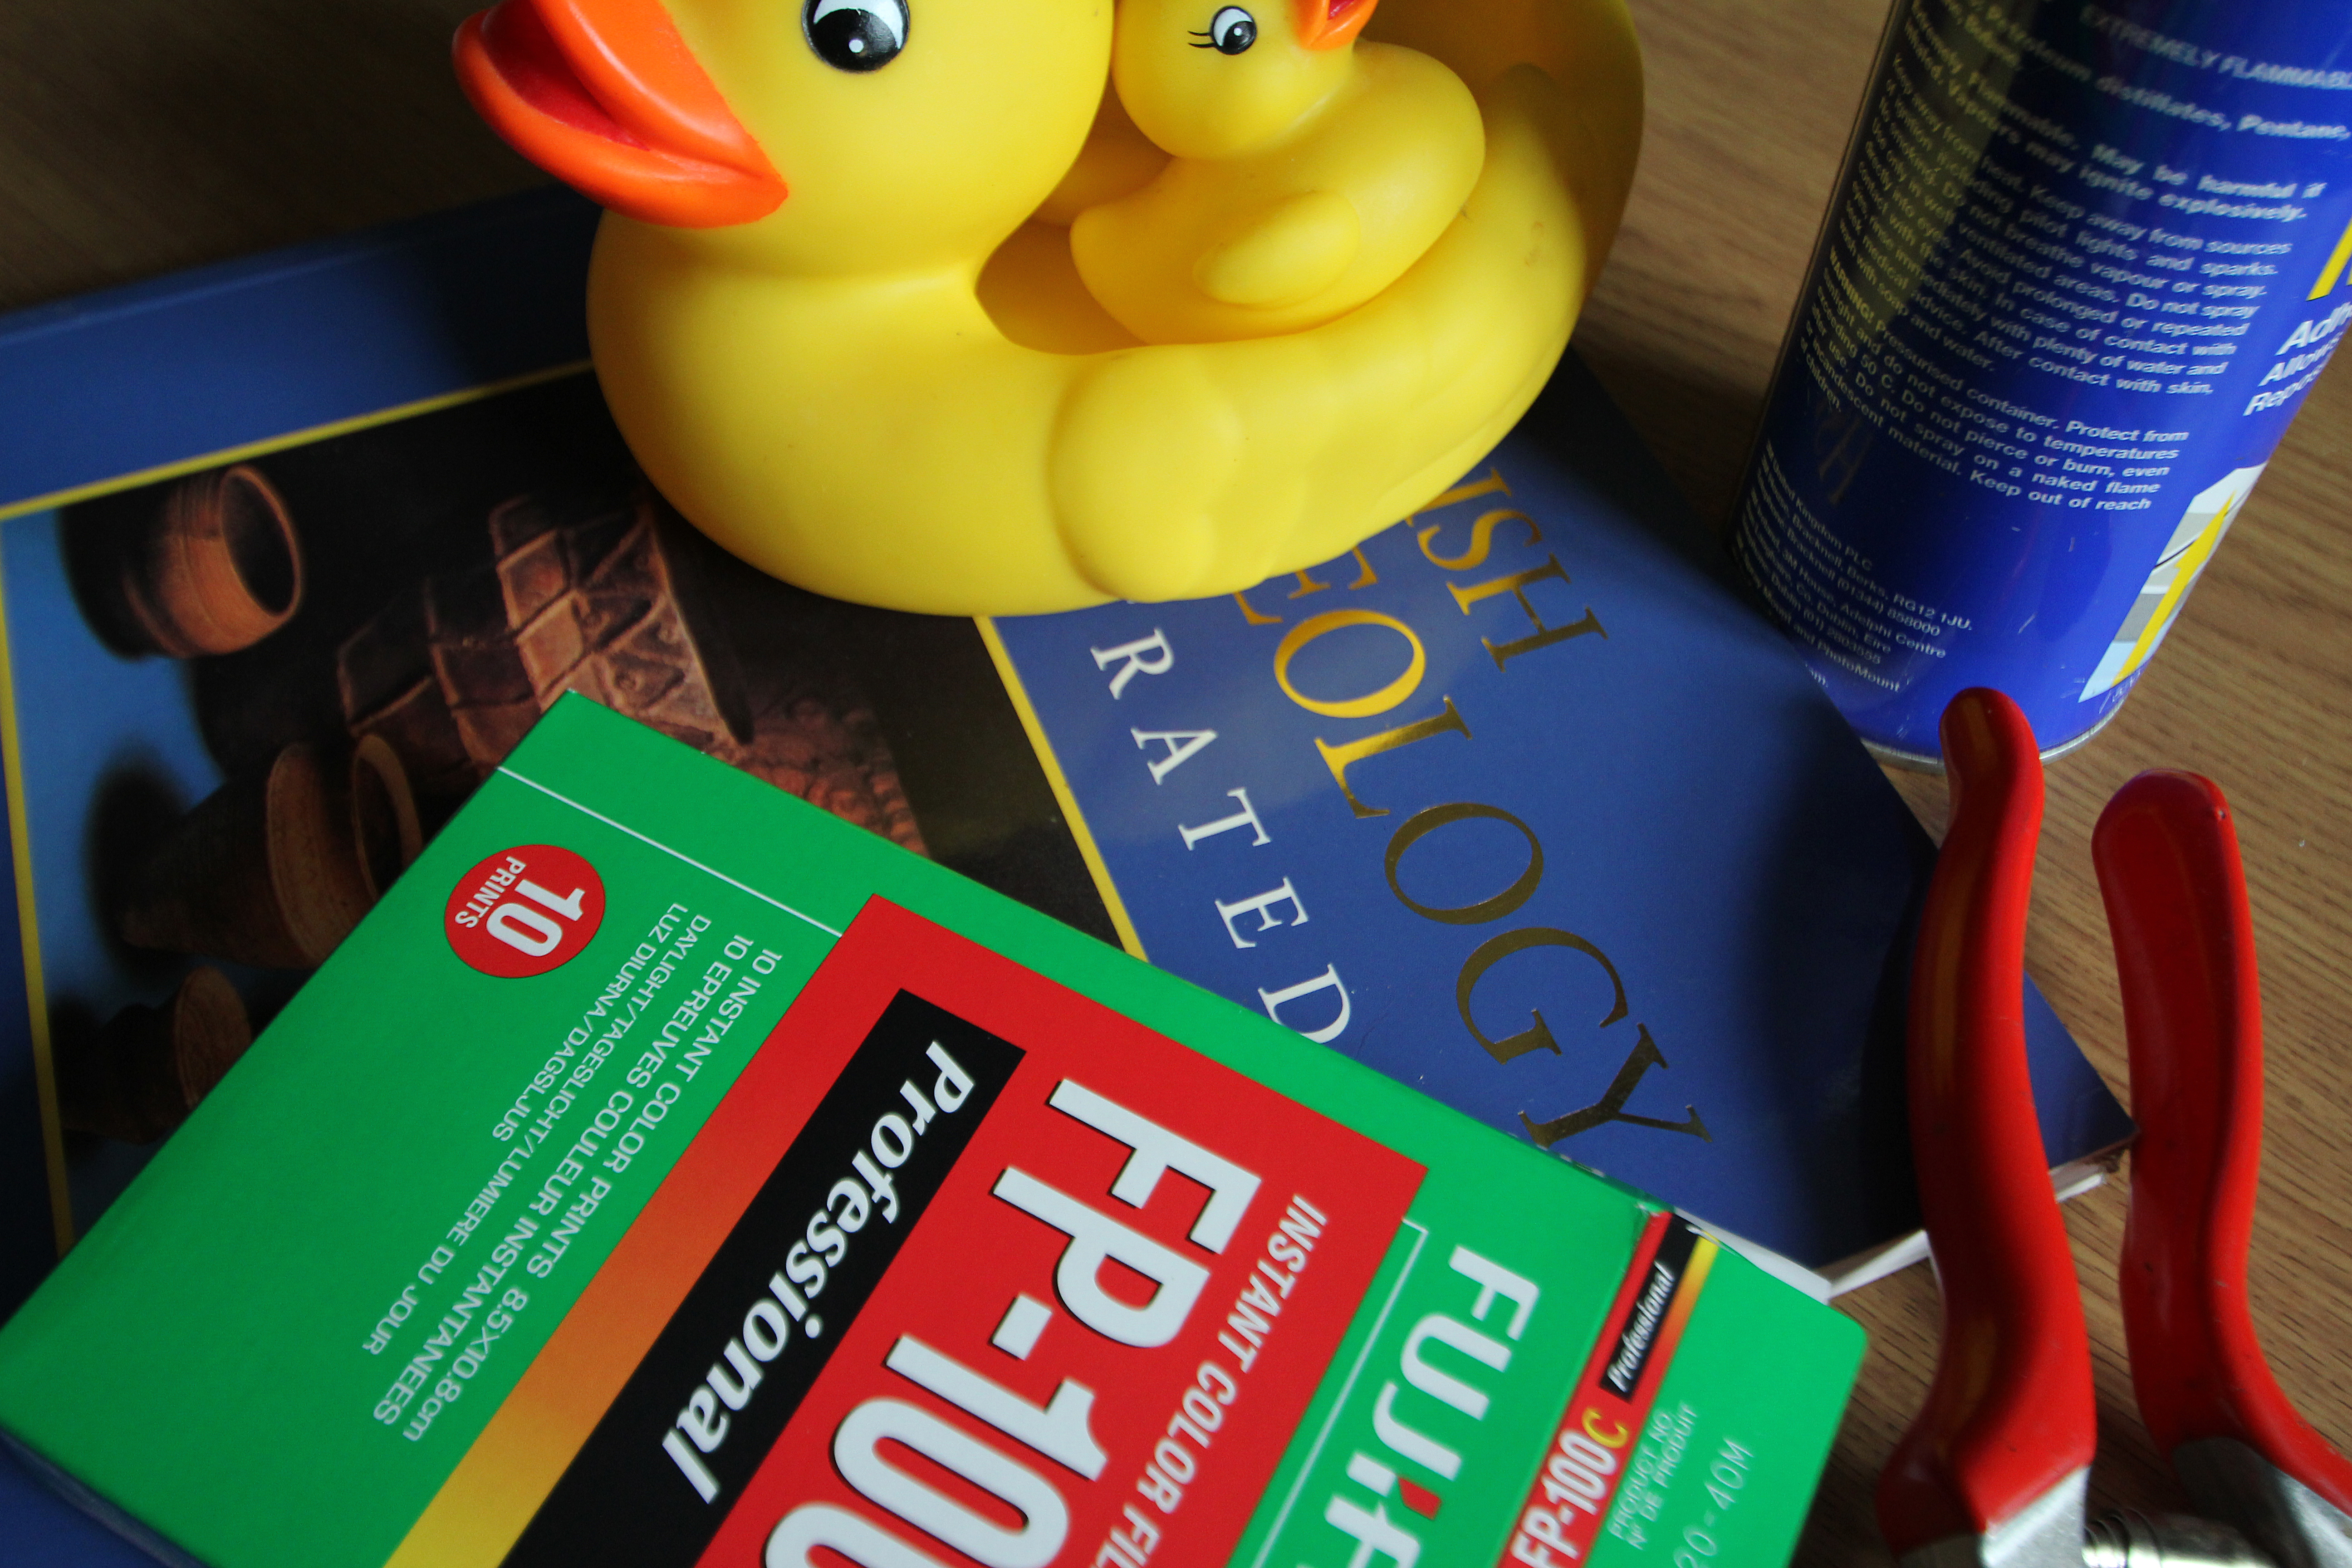
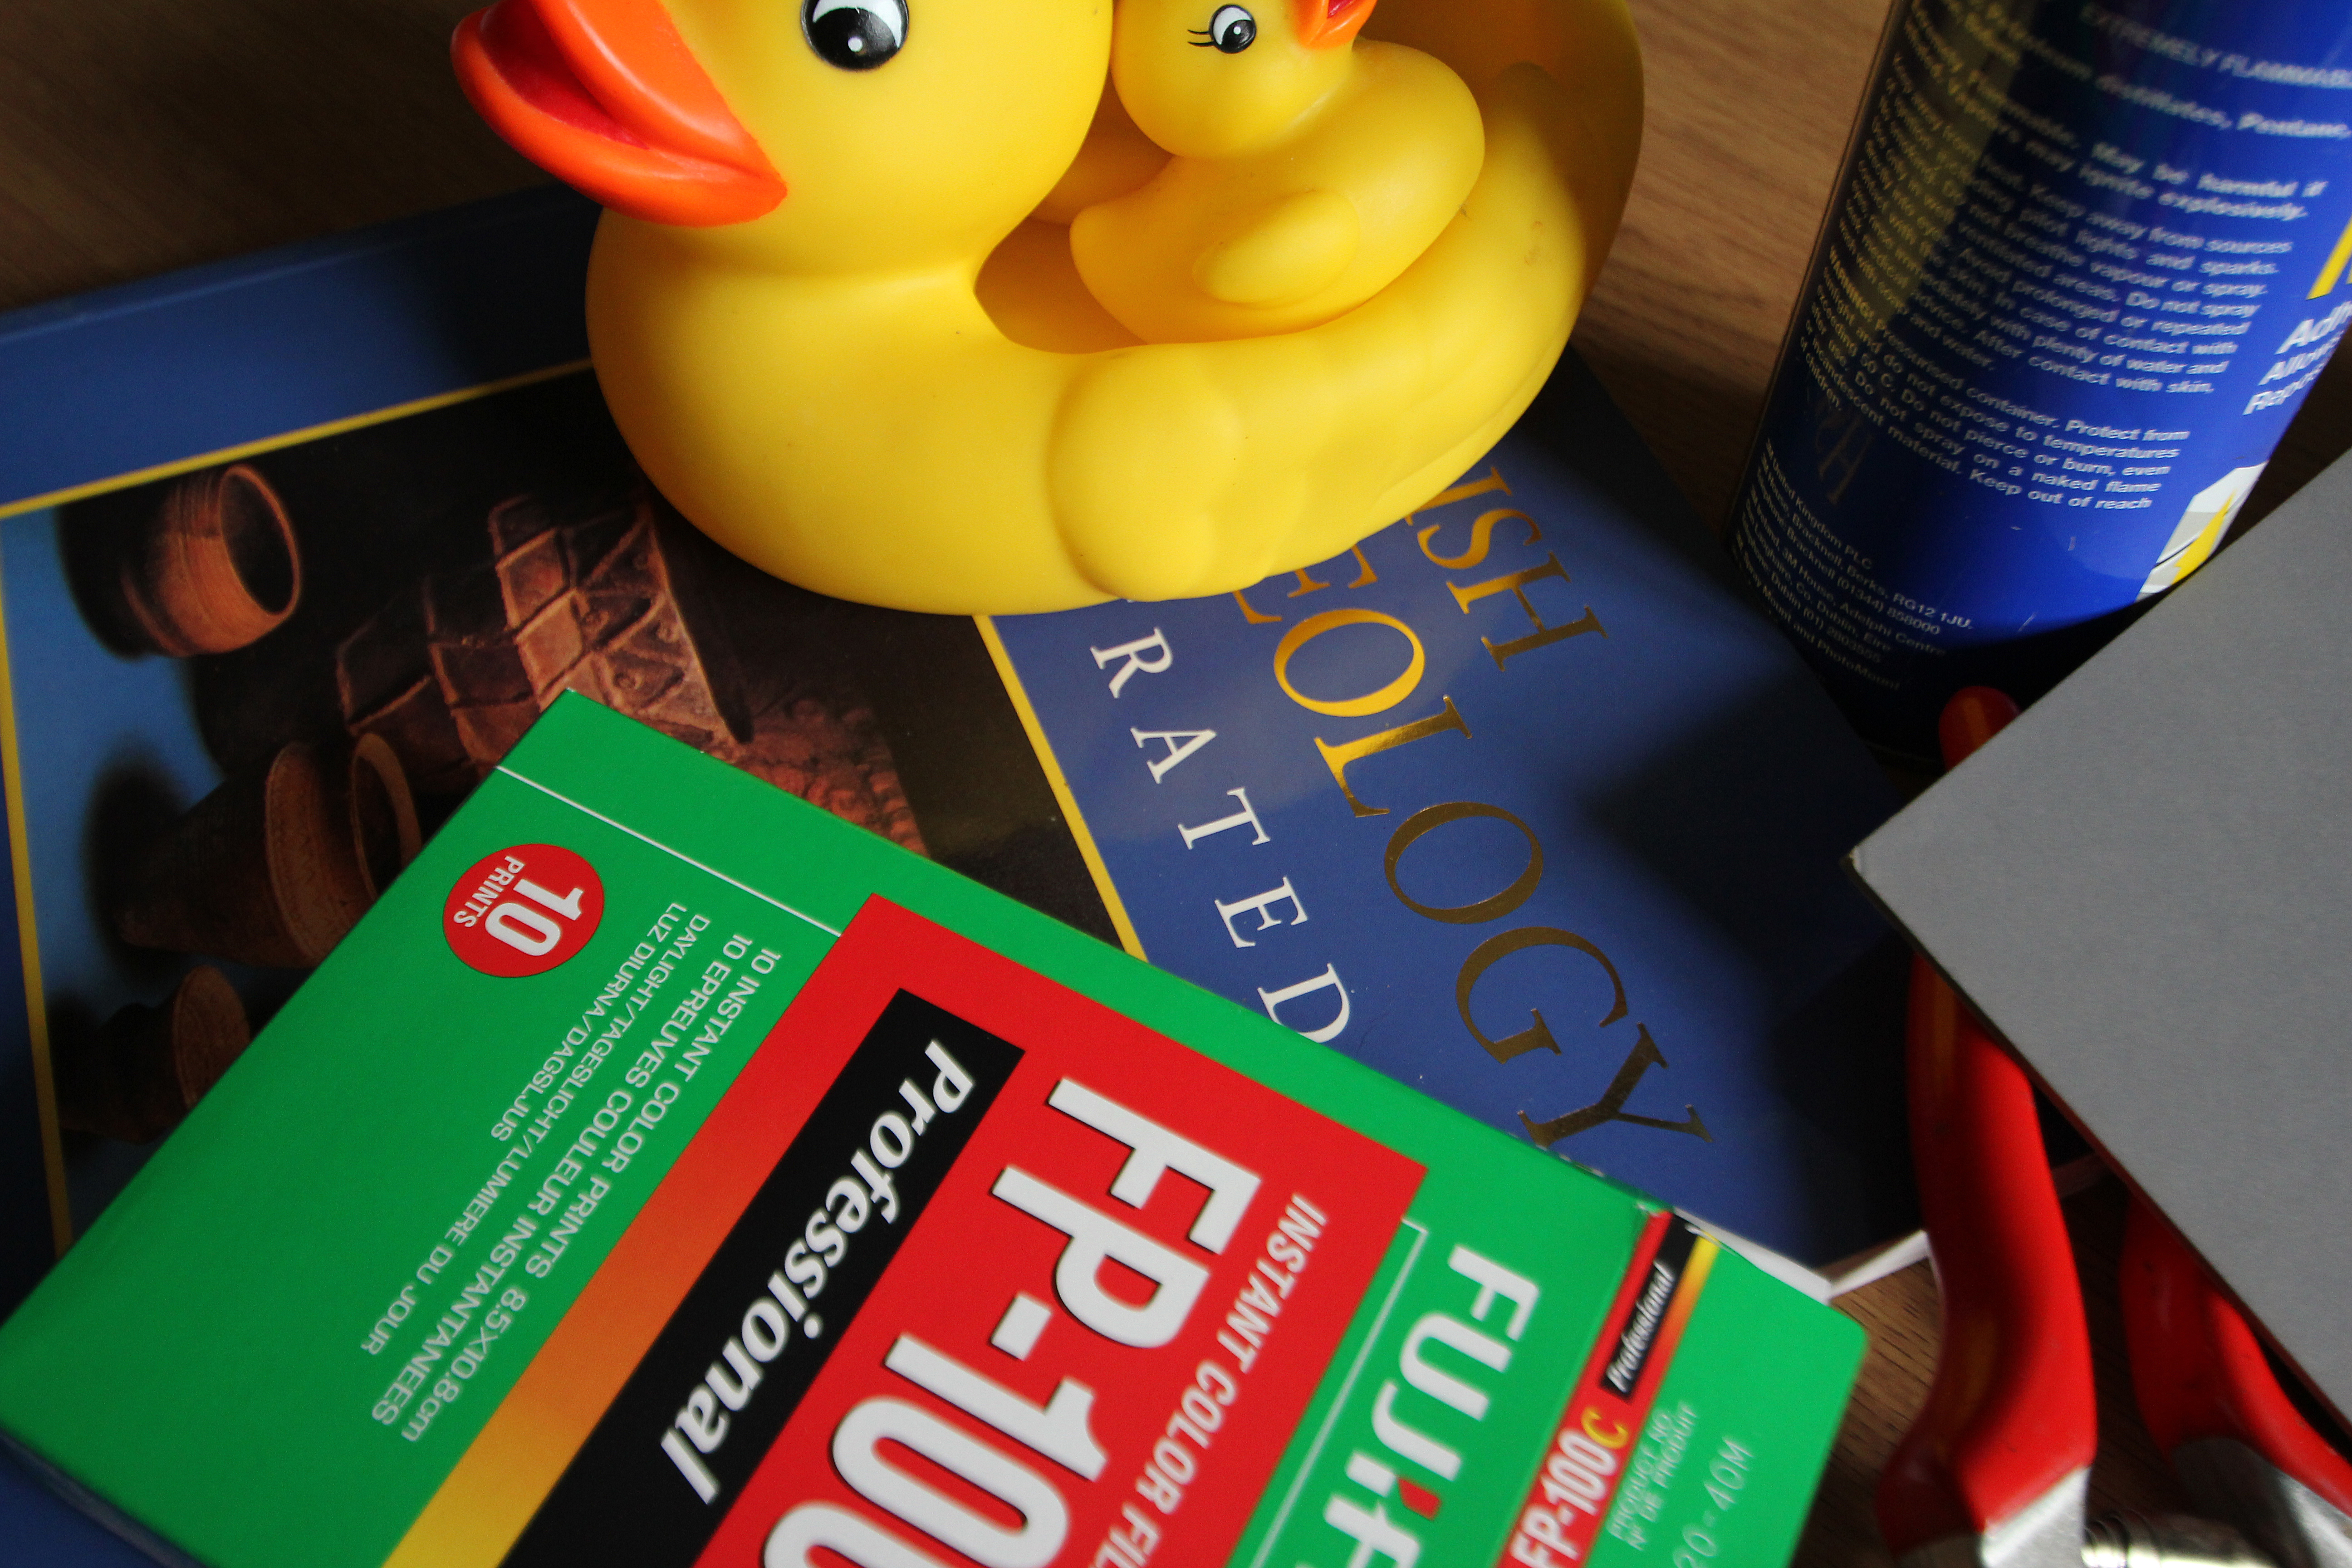
This version includes a corner of a Kodak 18% grey card, and was used to assess how the automatic white-balance function of the camera rendered the scene. It was found that the difference between the image as shot and a "corrected" version produced in Photoshop with the grey card as a reference point was imperceptible.
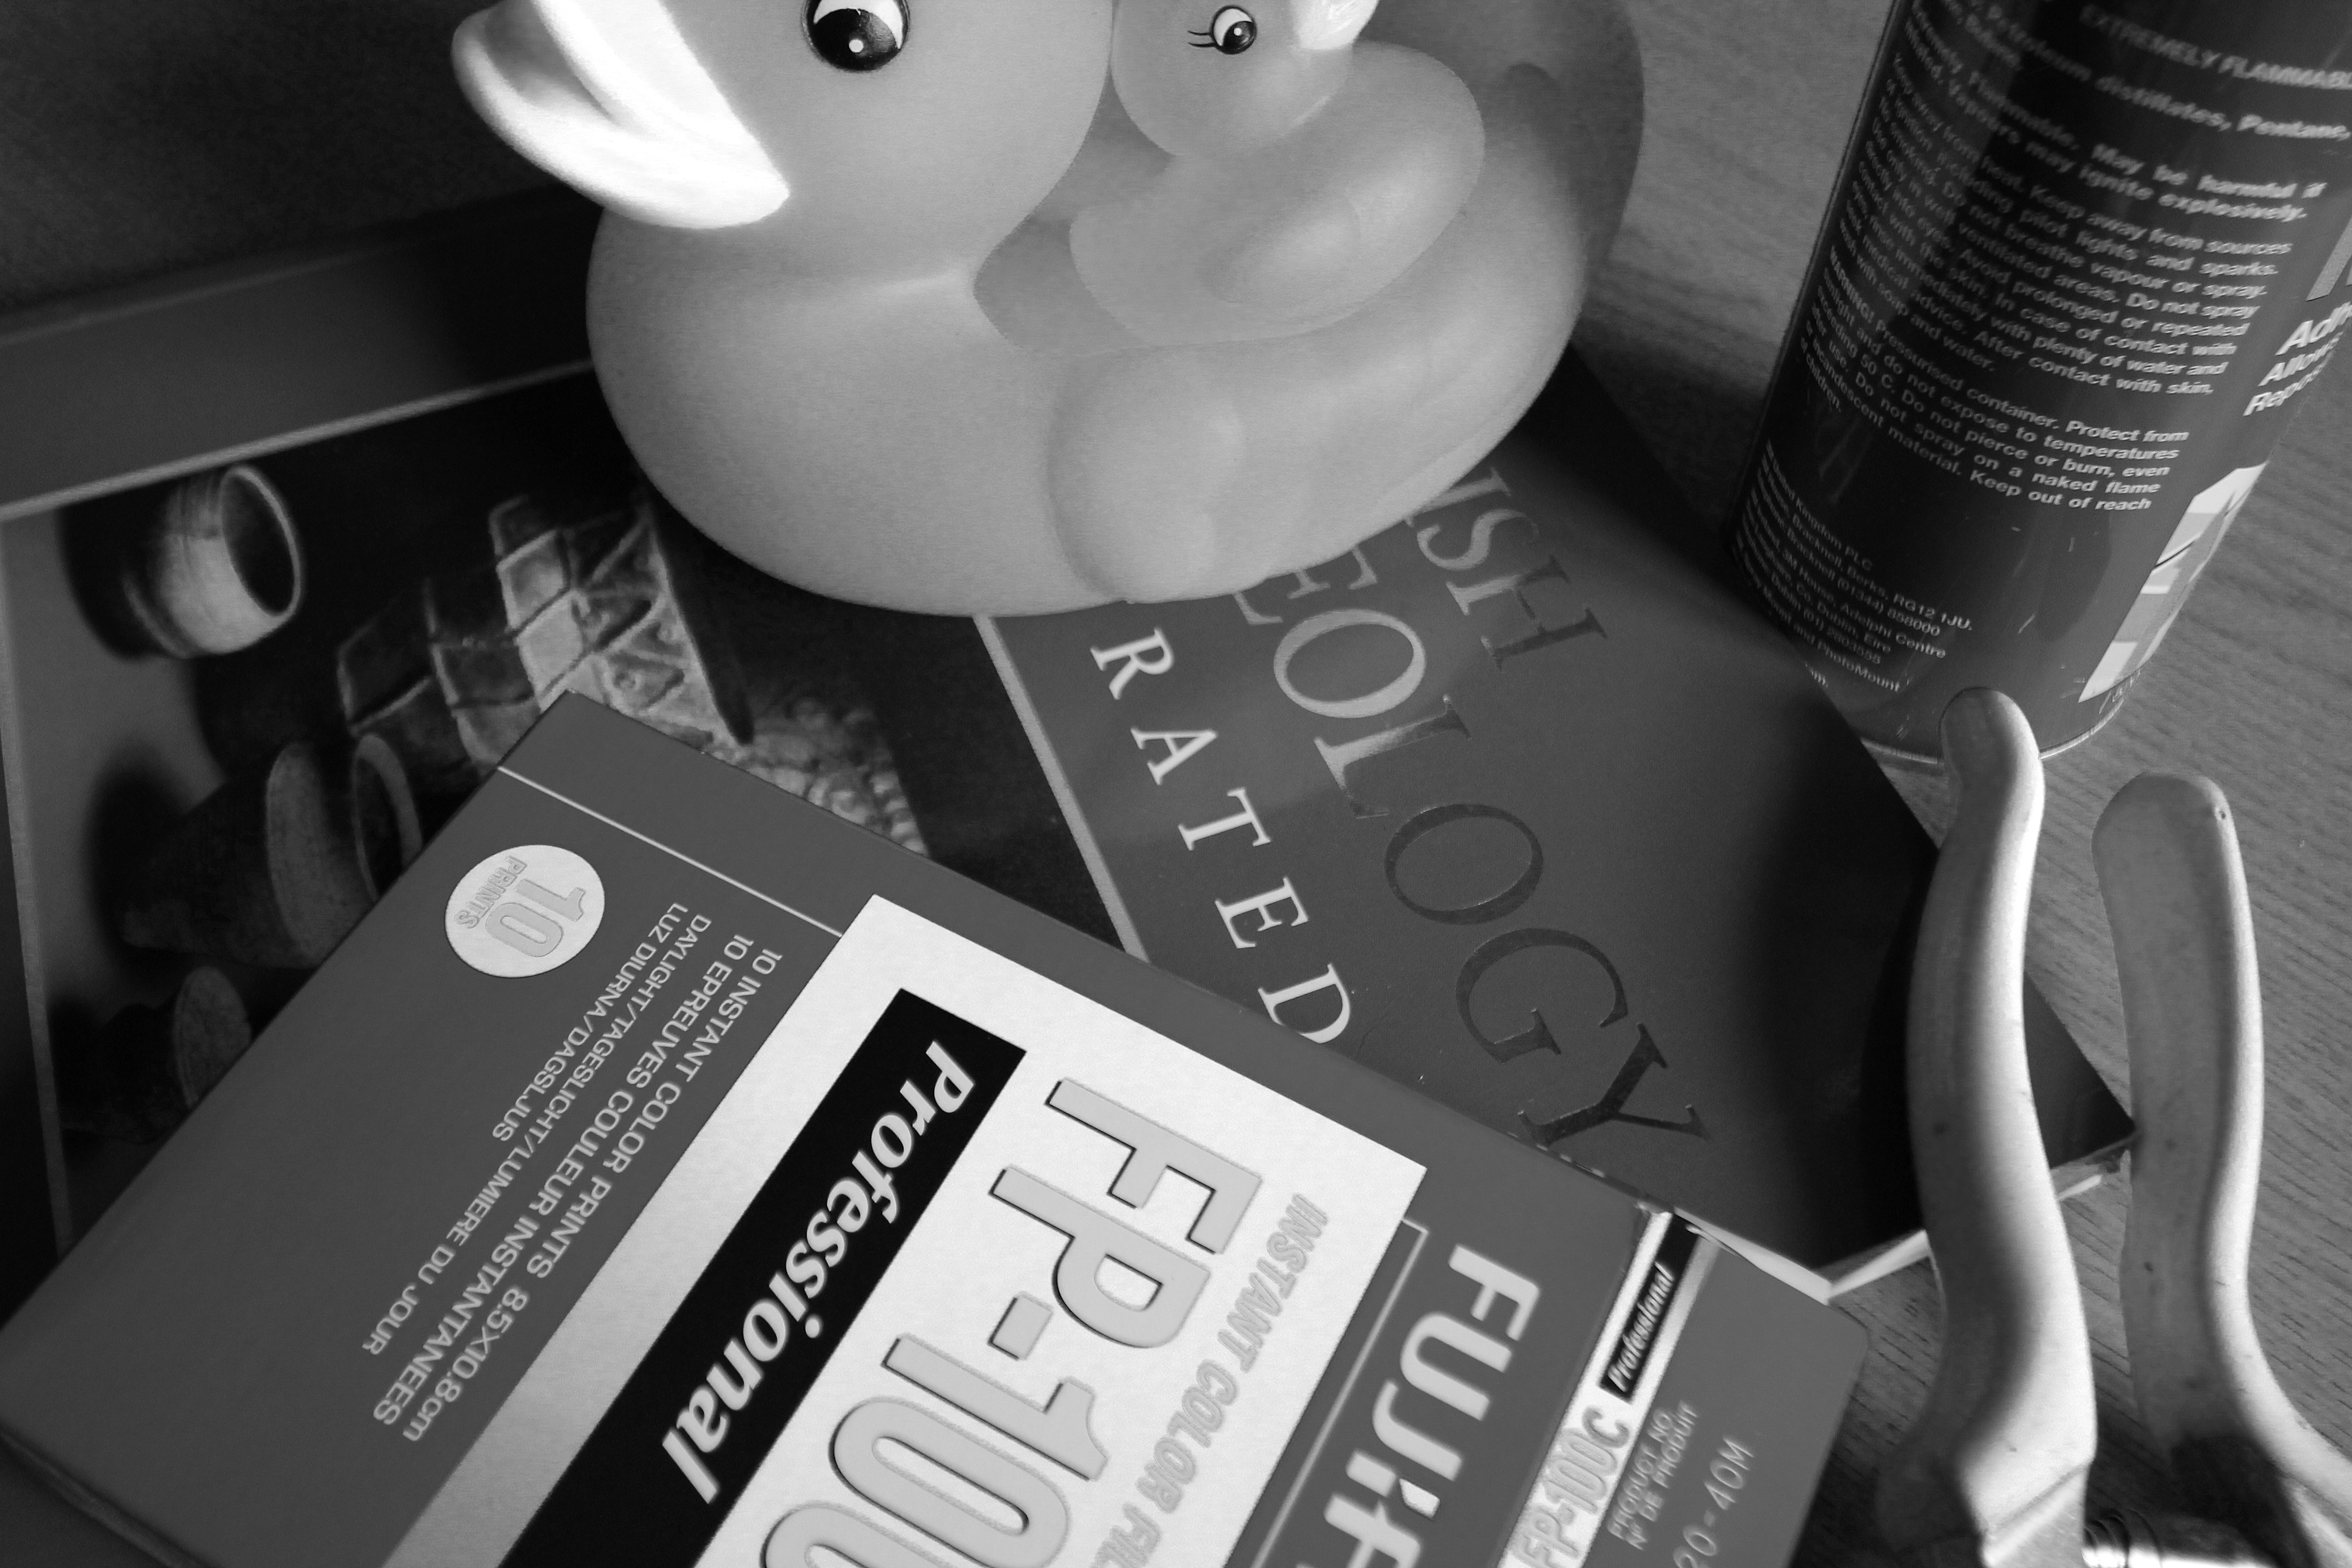
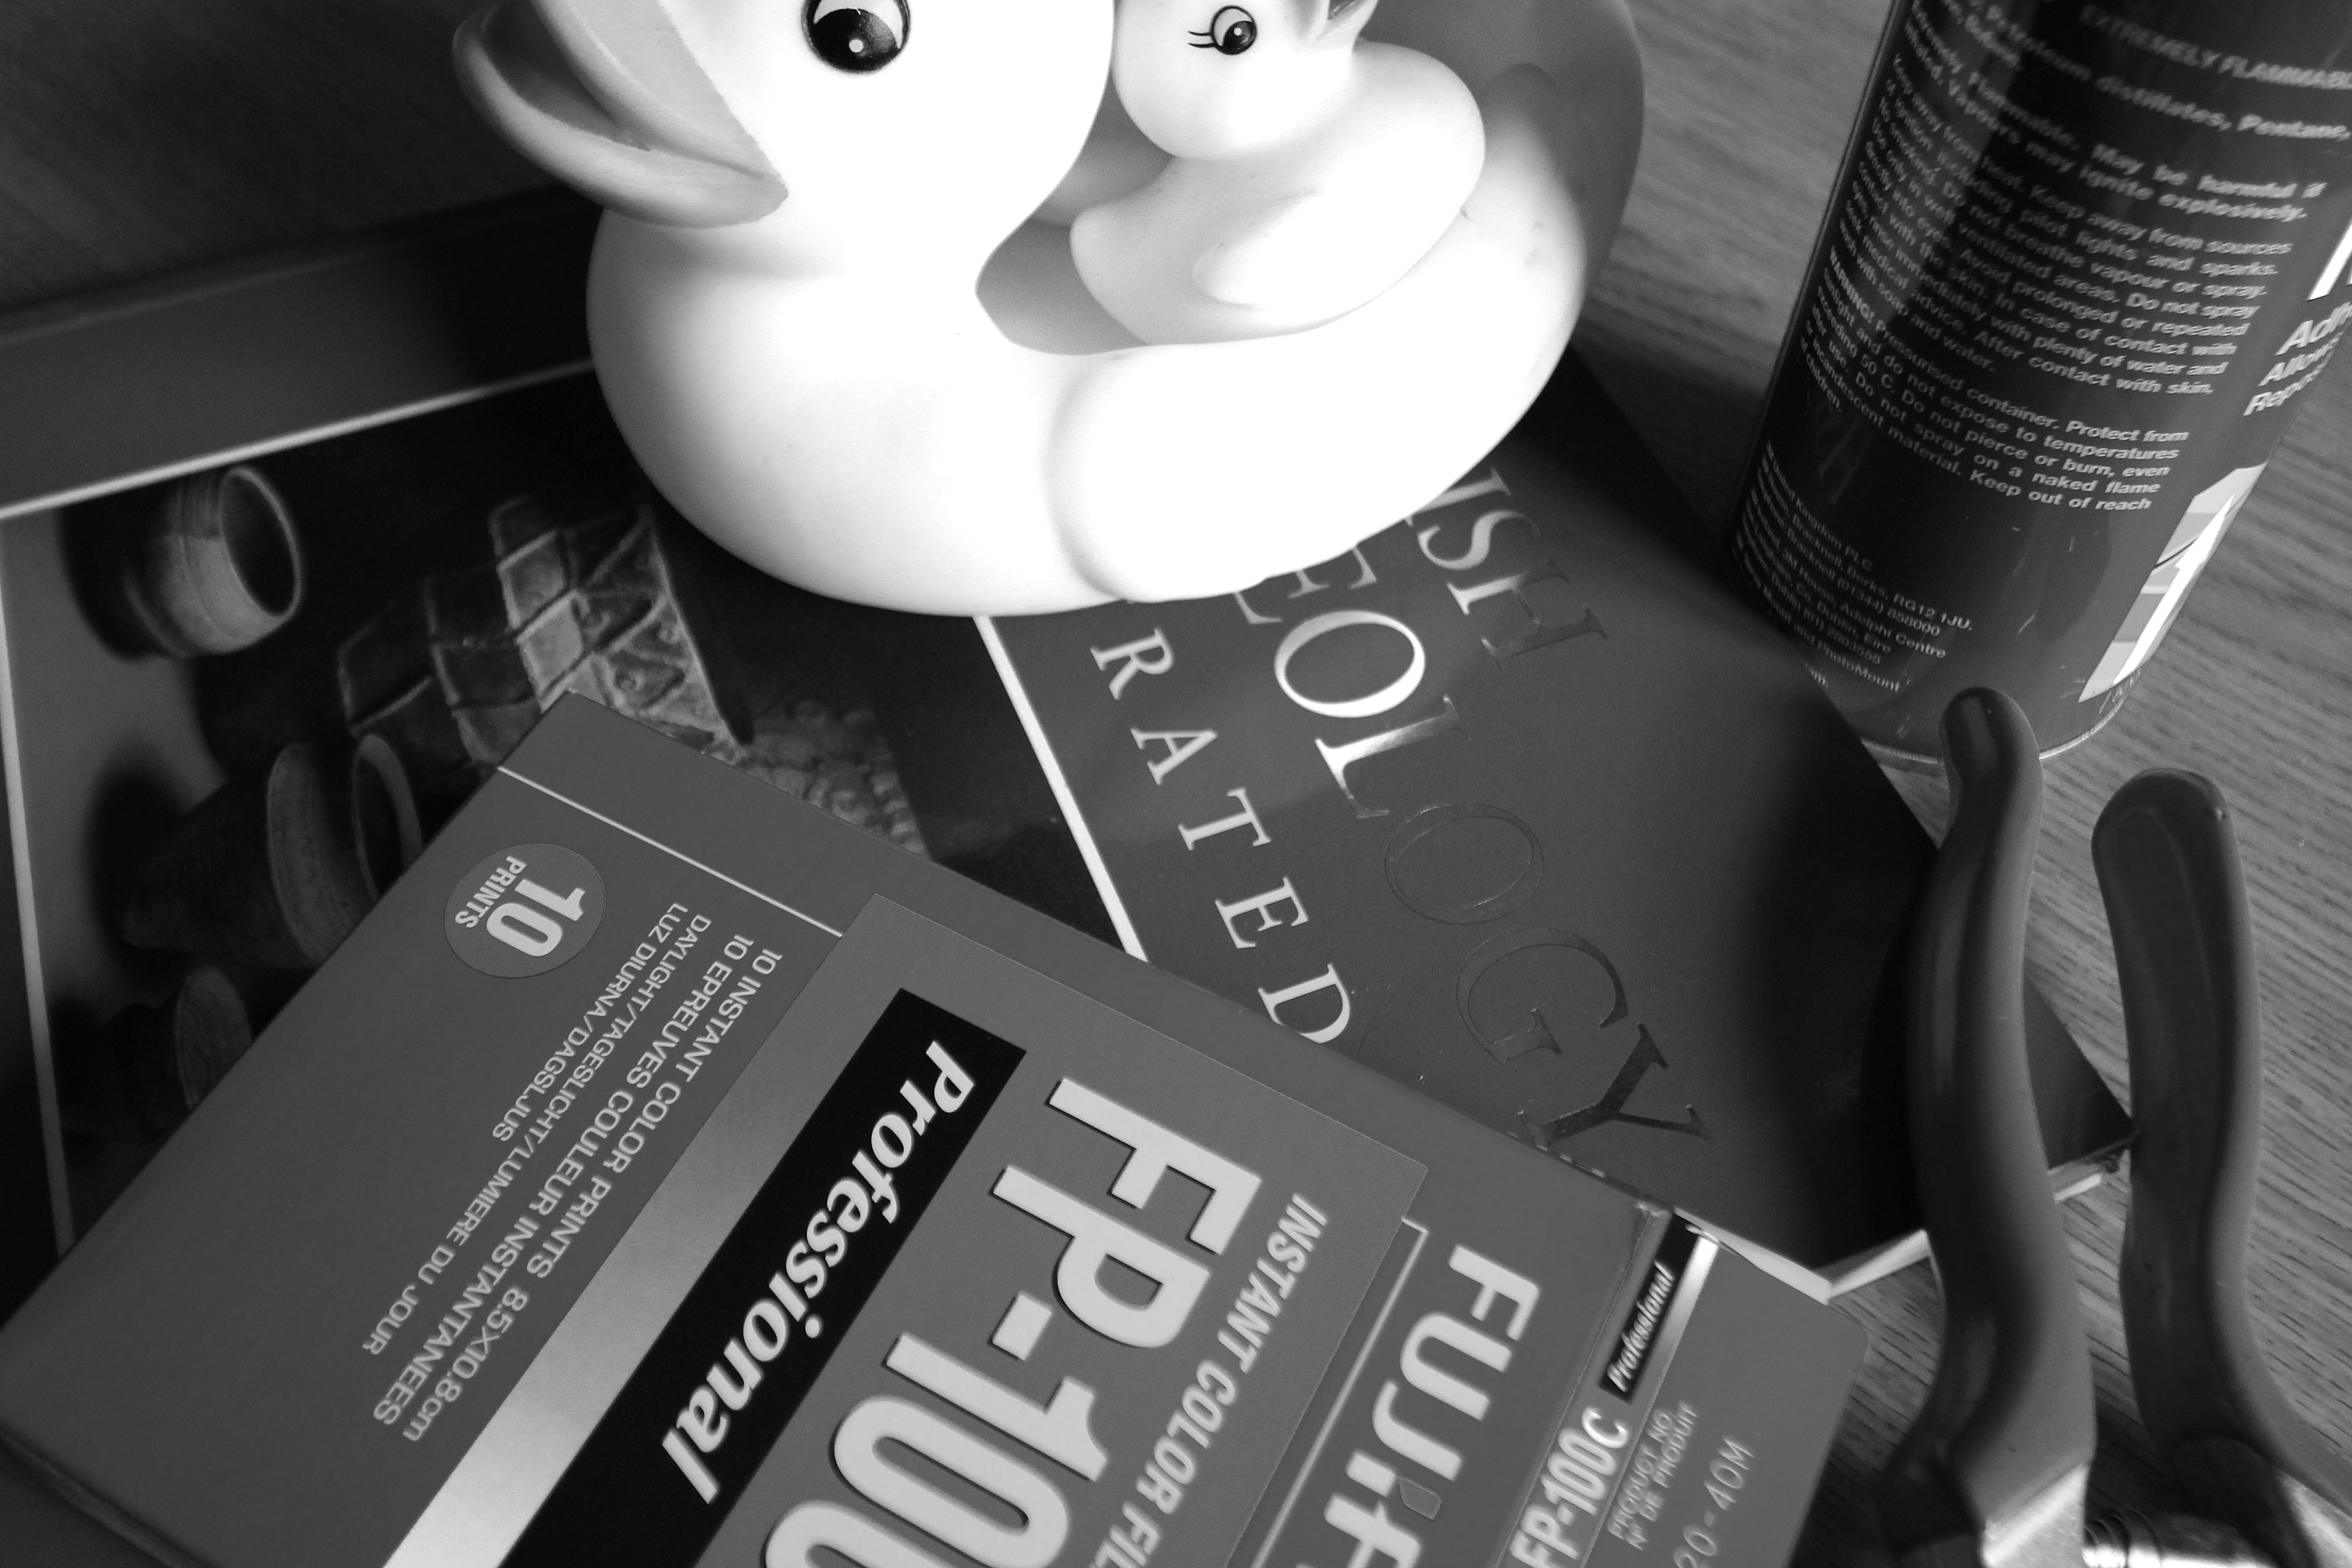
As a first step, having opened the image in Photoshop, I created a black and white adjustment layer which gave the following result -

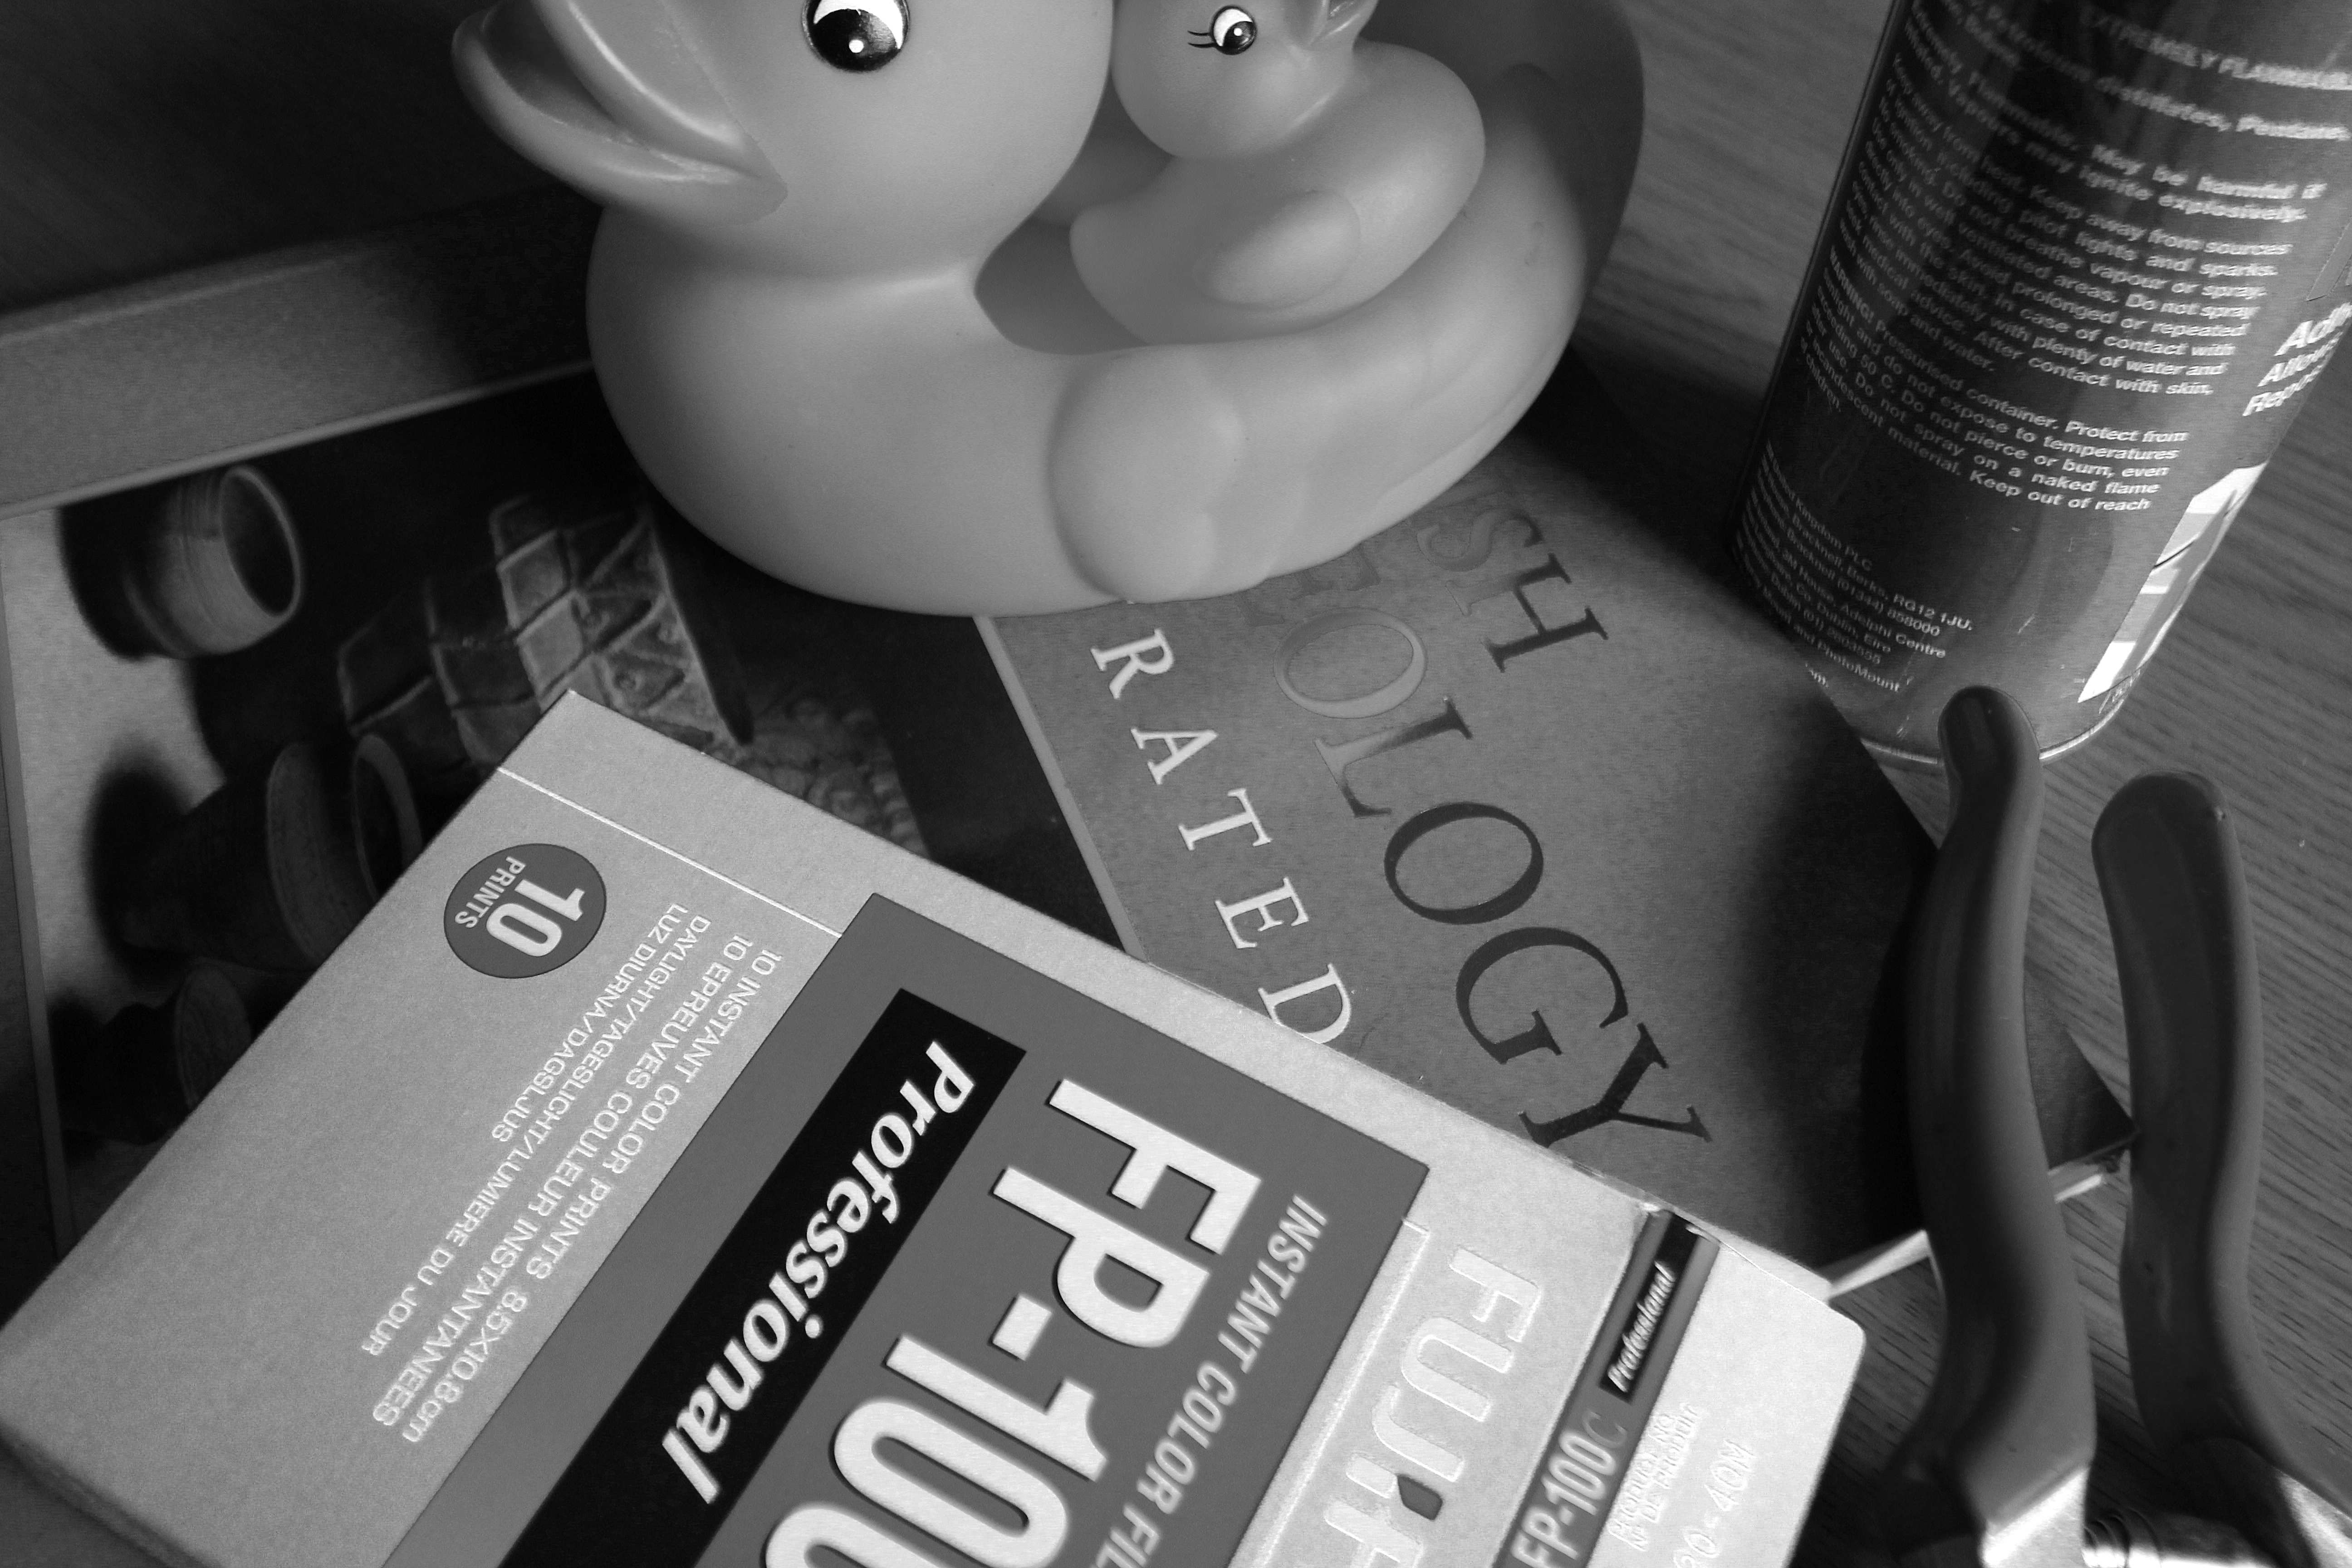
This seems a reasonable starting point, although it will be noticed that there is little differentiation between the orange beak and yellow body of the duck. Most other details are adequately rendered.
The default conversion in Photoshop used these settings -
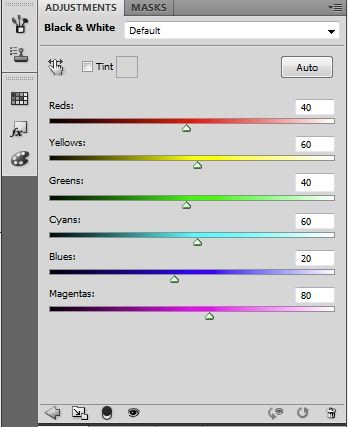
I then performed a series of manipulations using the sliders above, to explore what happens as the influences of colours are modified in the monochrome image. For the first set of experiments I lightened the grey value of each colour by moving the slider to the right.
 |
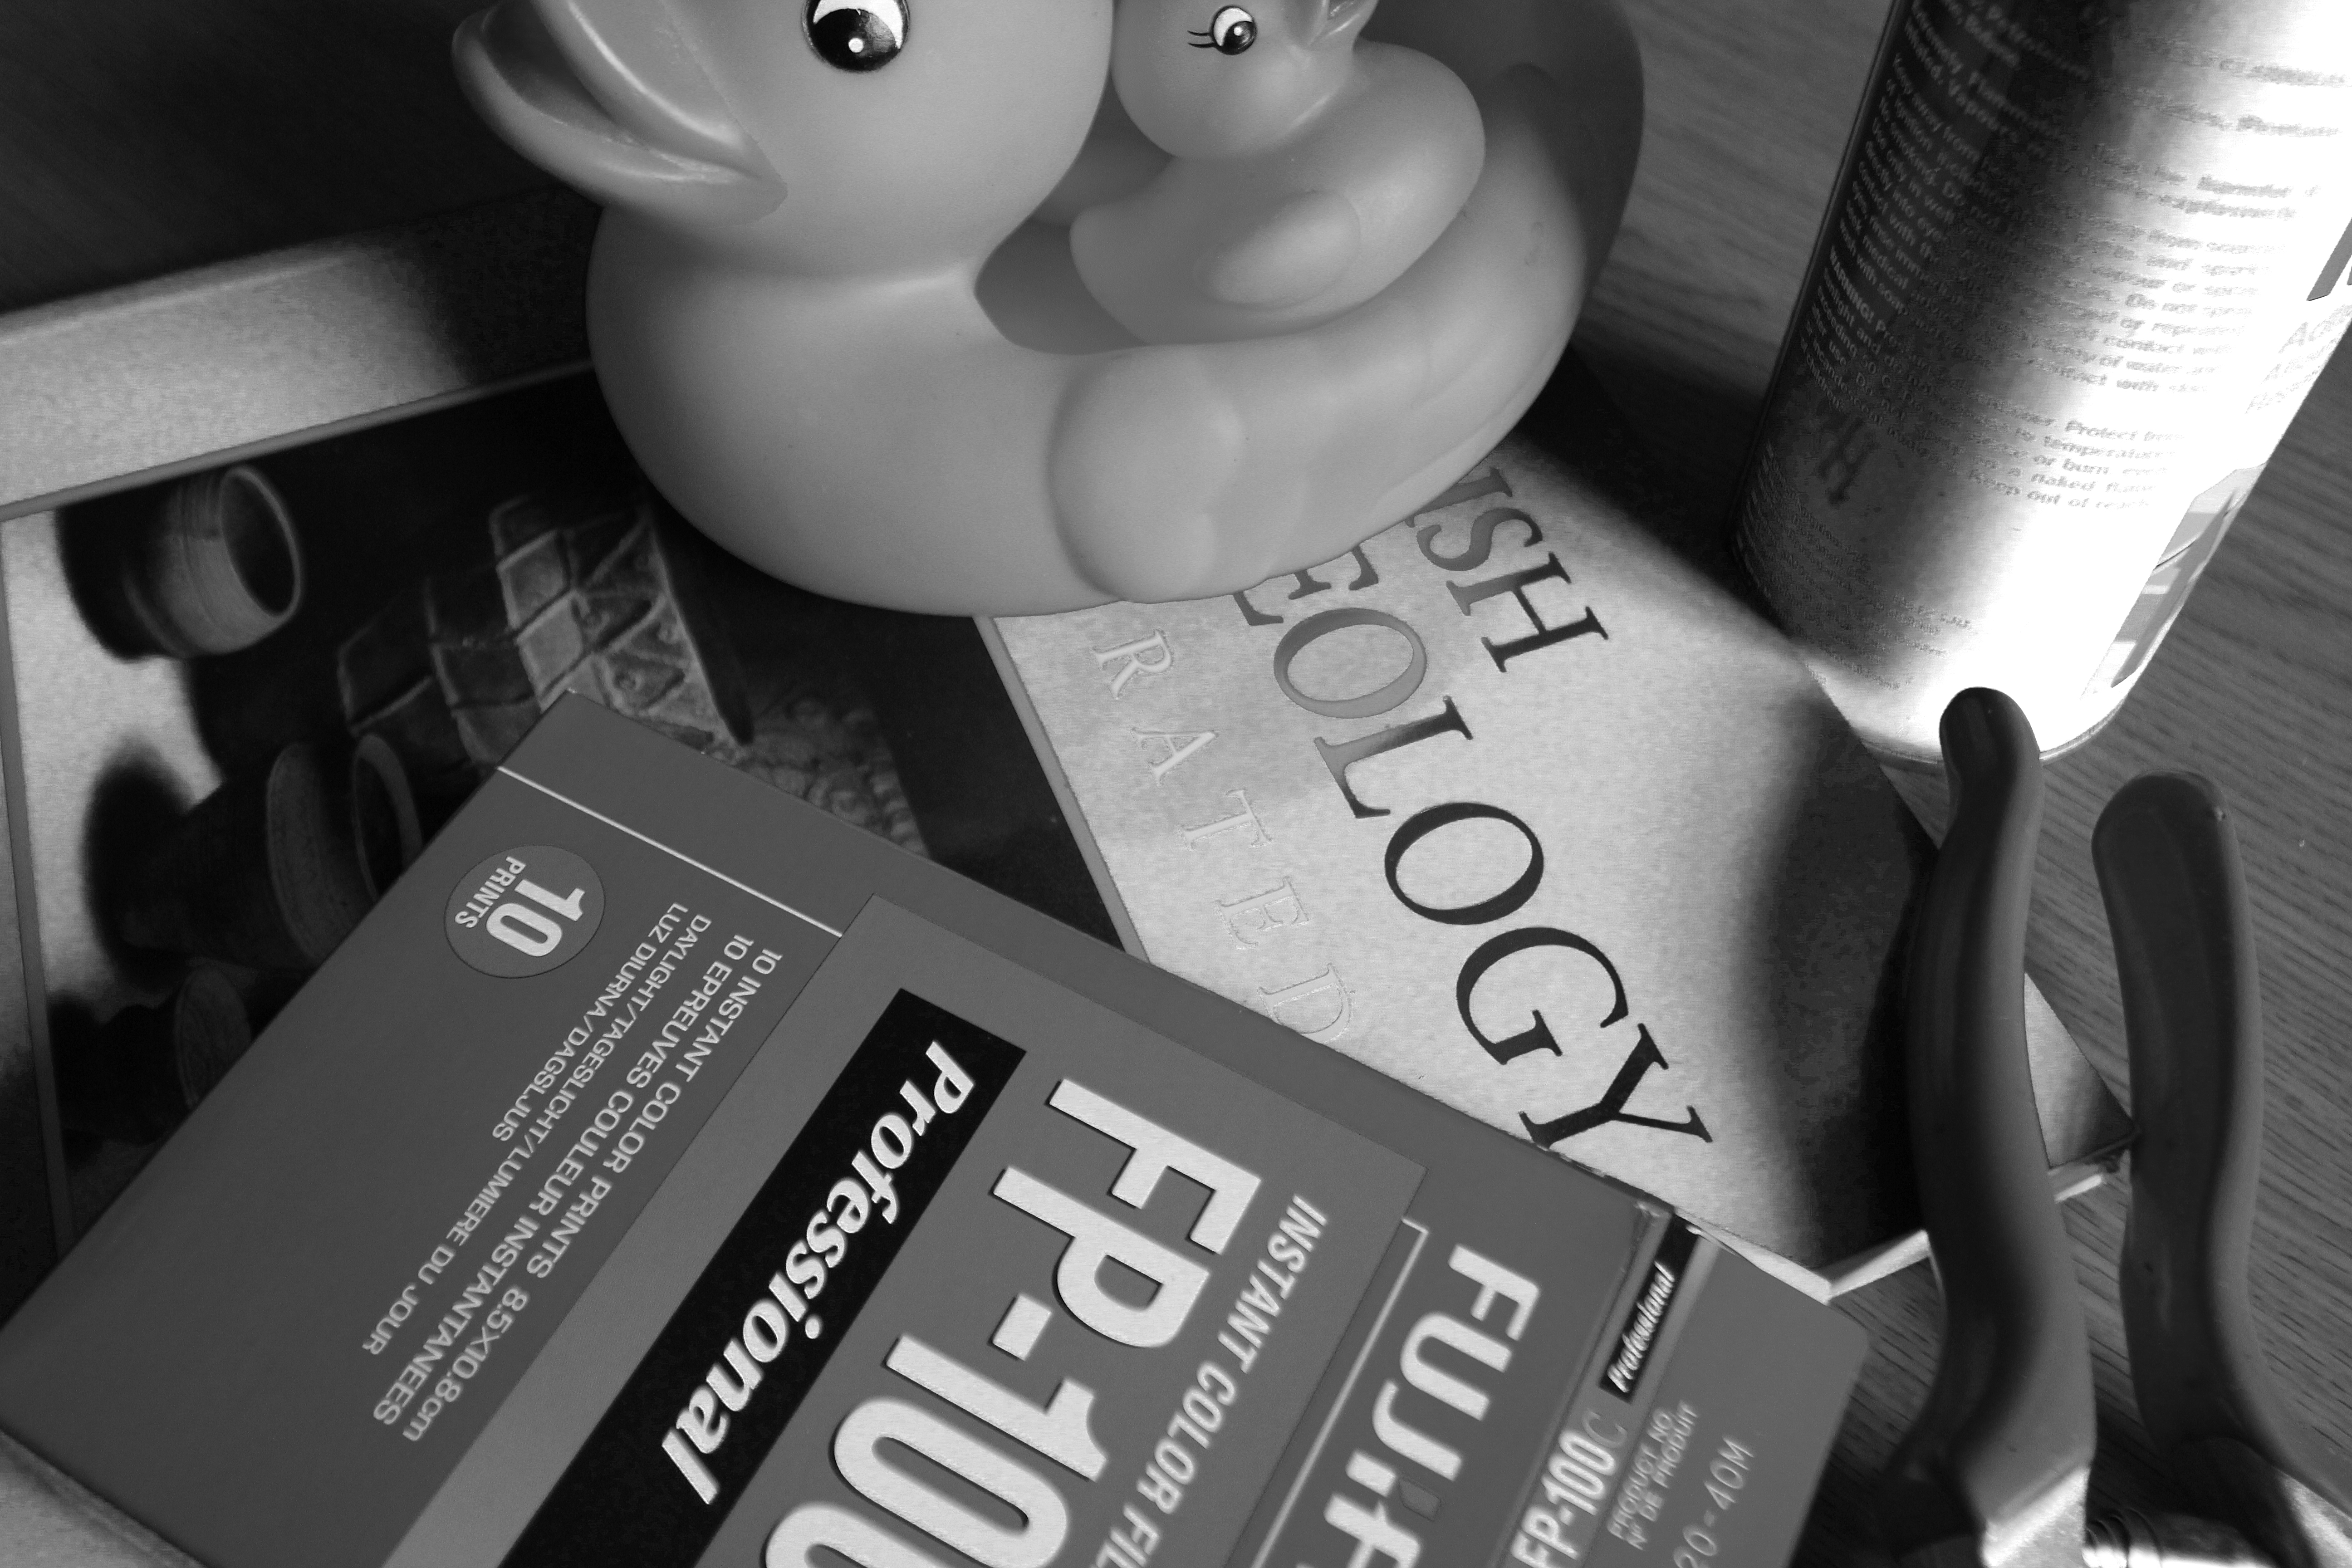
| Red lightened. |
A lightening of the reds gives the poor duck a bit of the zinc-oxide sun screen look. The handles of the clippers are now white, and the text on the package now stands out less from the background.
 |
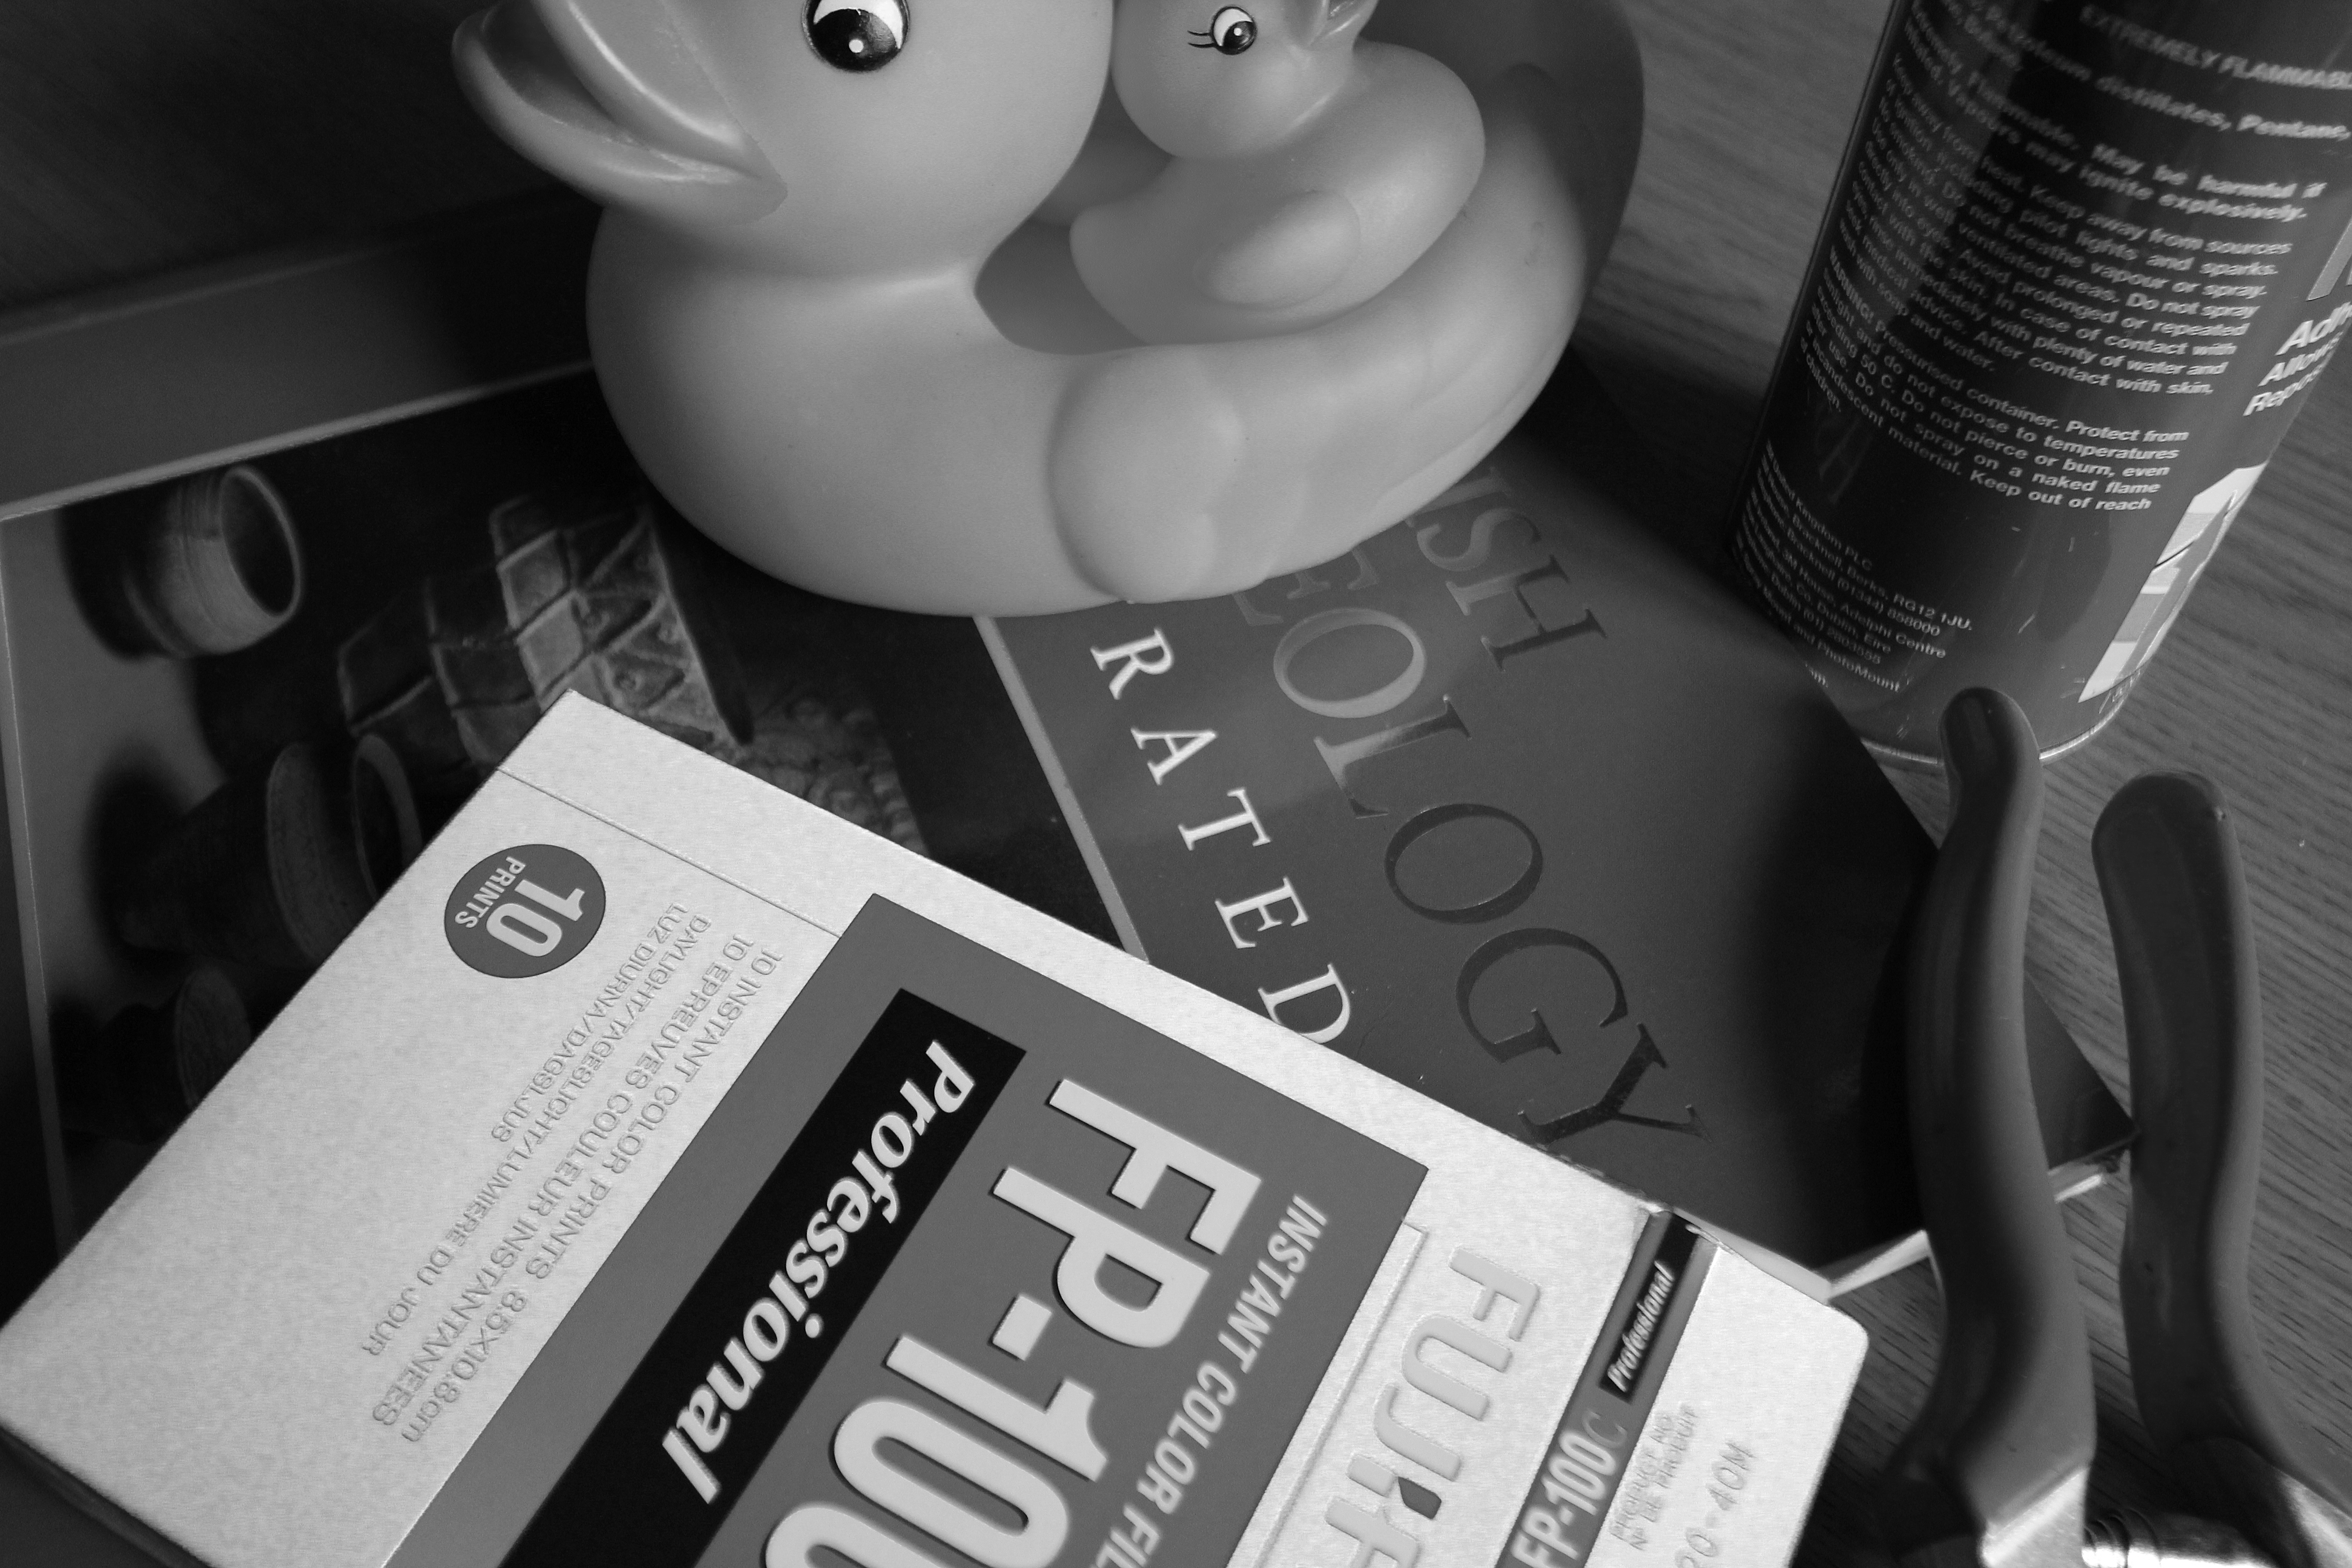
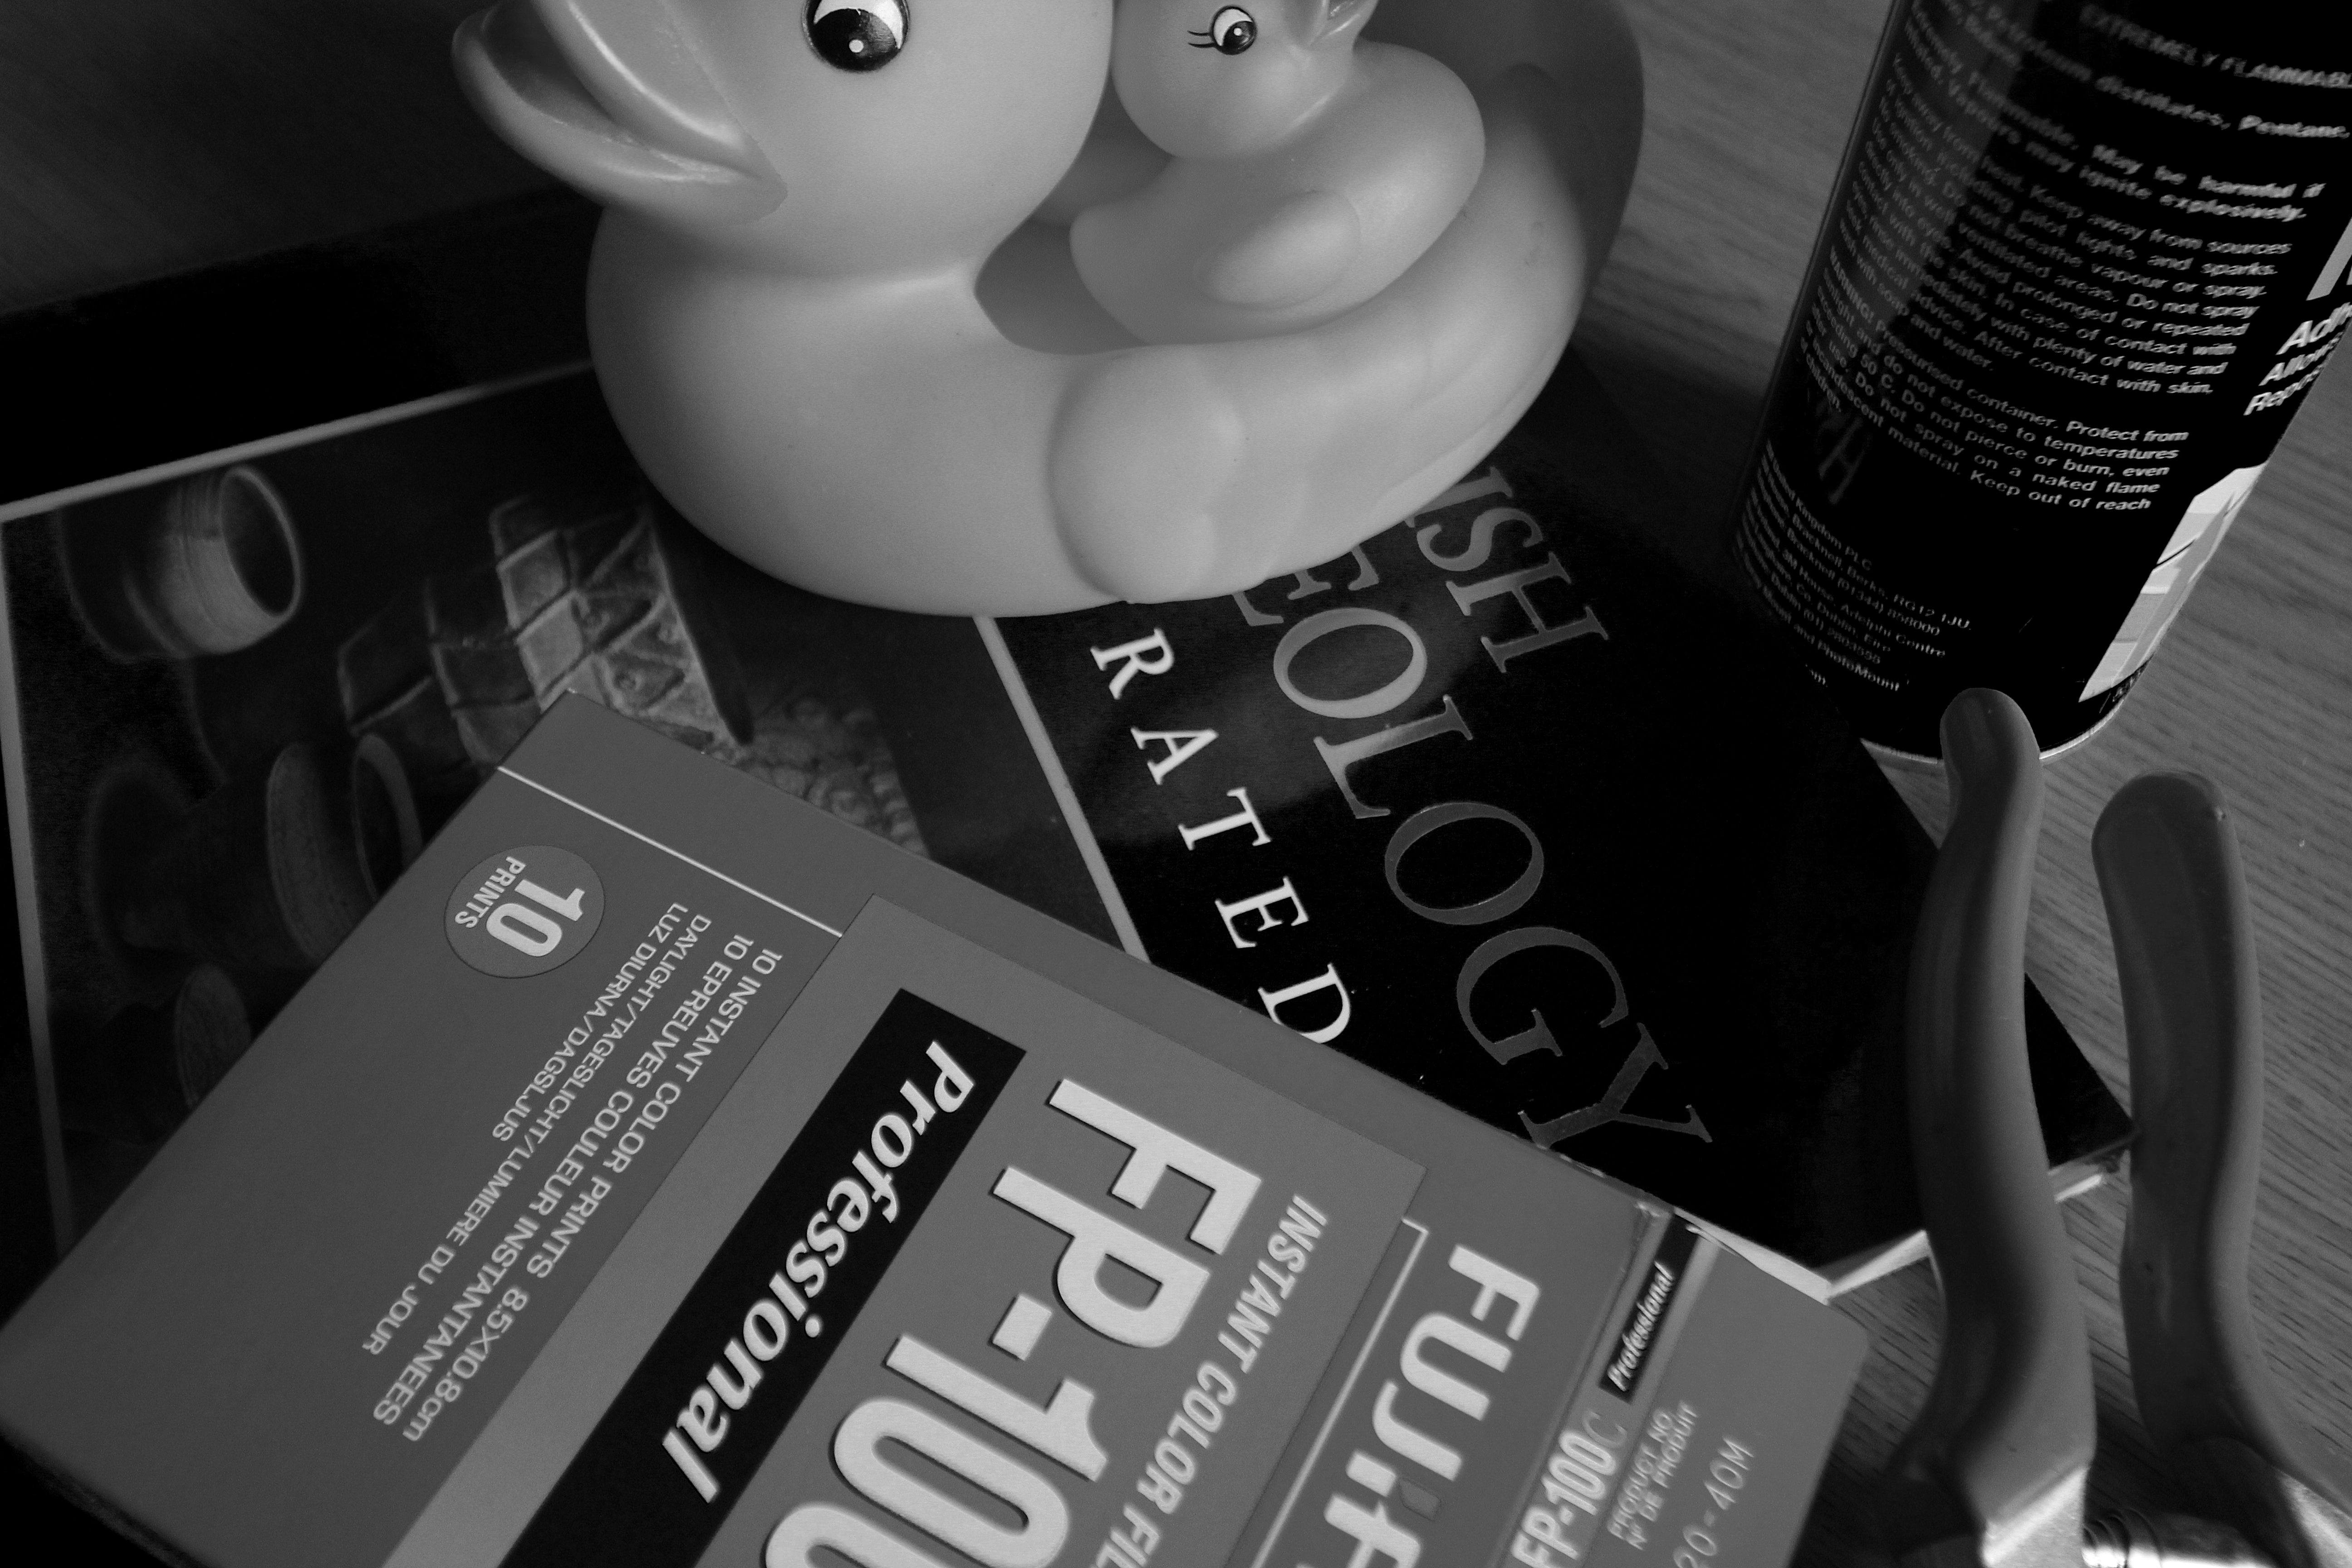
| Yellow lightened. |
We now have an albino duck. We also see subtler changes in the graduated band of colour beneath "Professional" on the package.
 |
| Blue lightened. |
 |
| Green lightened. |
As we may expect, the green package shows the biggest change here.
 |
| Magenta lightened. |
 |
| Cyan lightened. |
This example reveals the cyan component in the green body of the film package.
As a true obsessive, I then repeated all these experiments by darkening each colour in turn, moving the adjustment sliders to the left. I offer here just a few of the resulting images.
 |
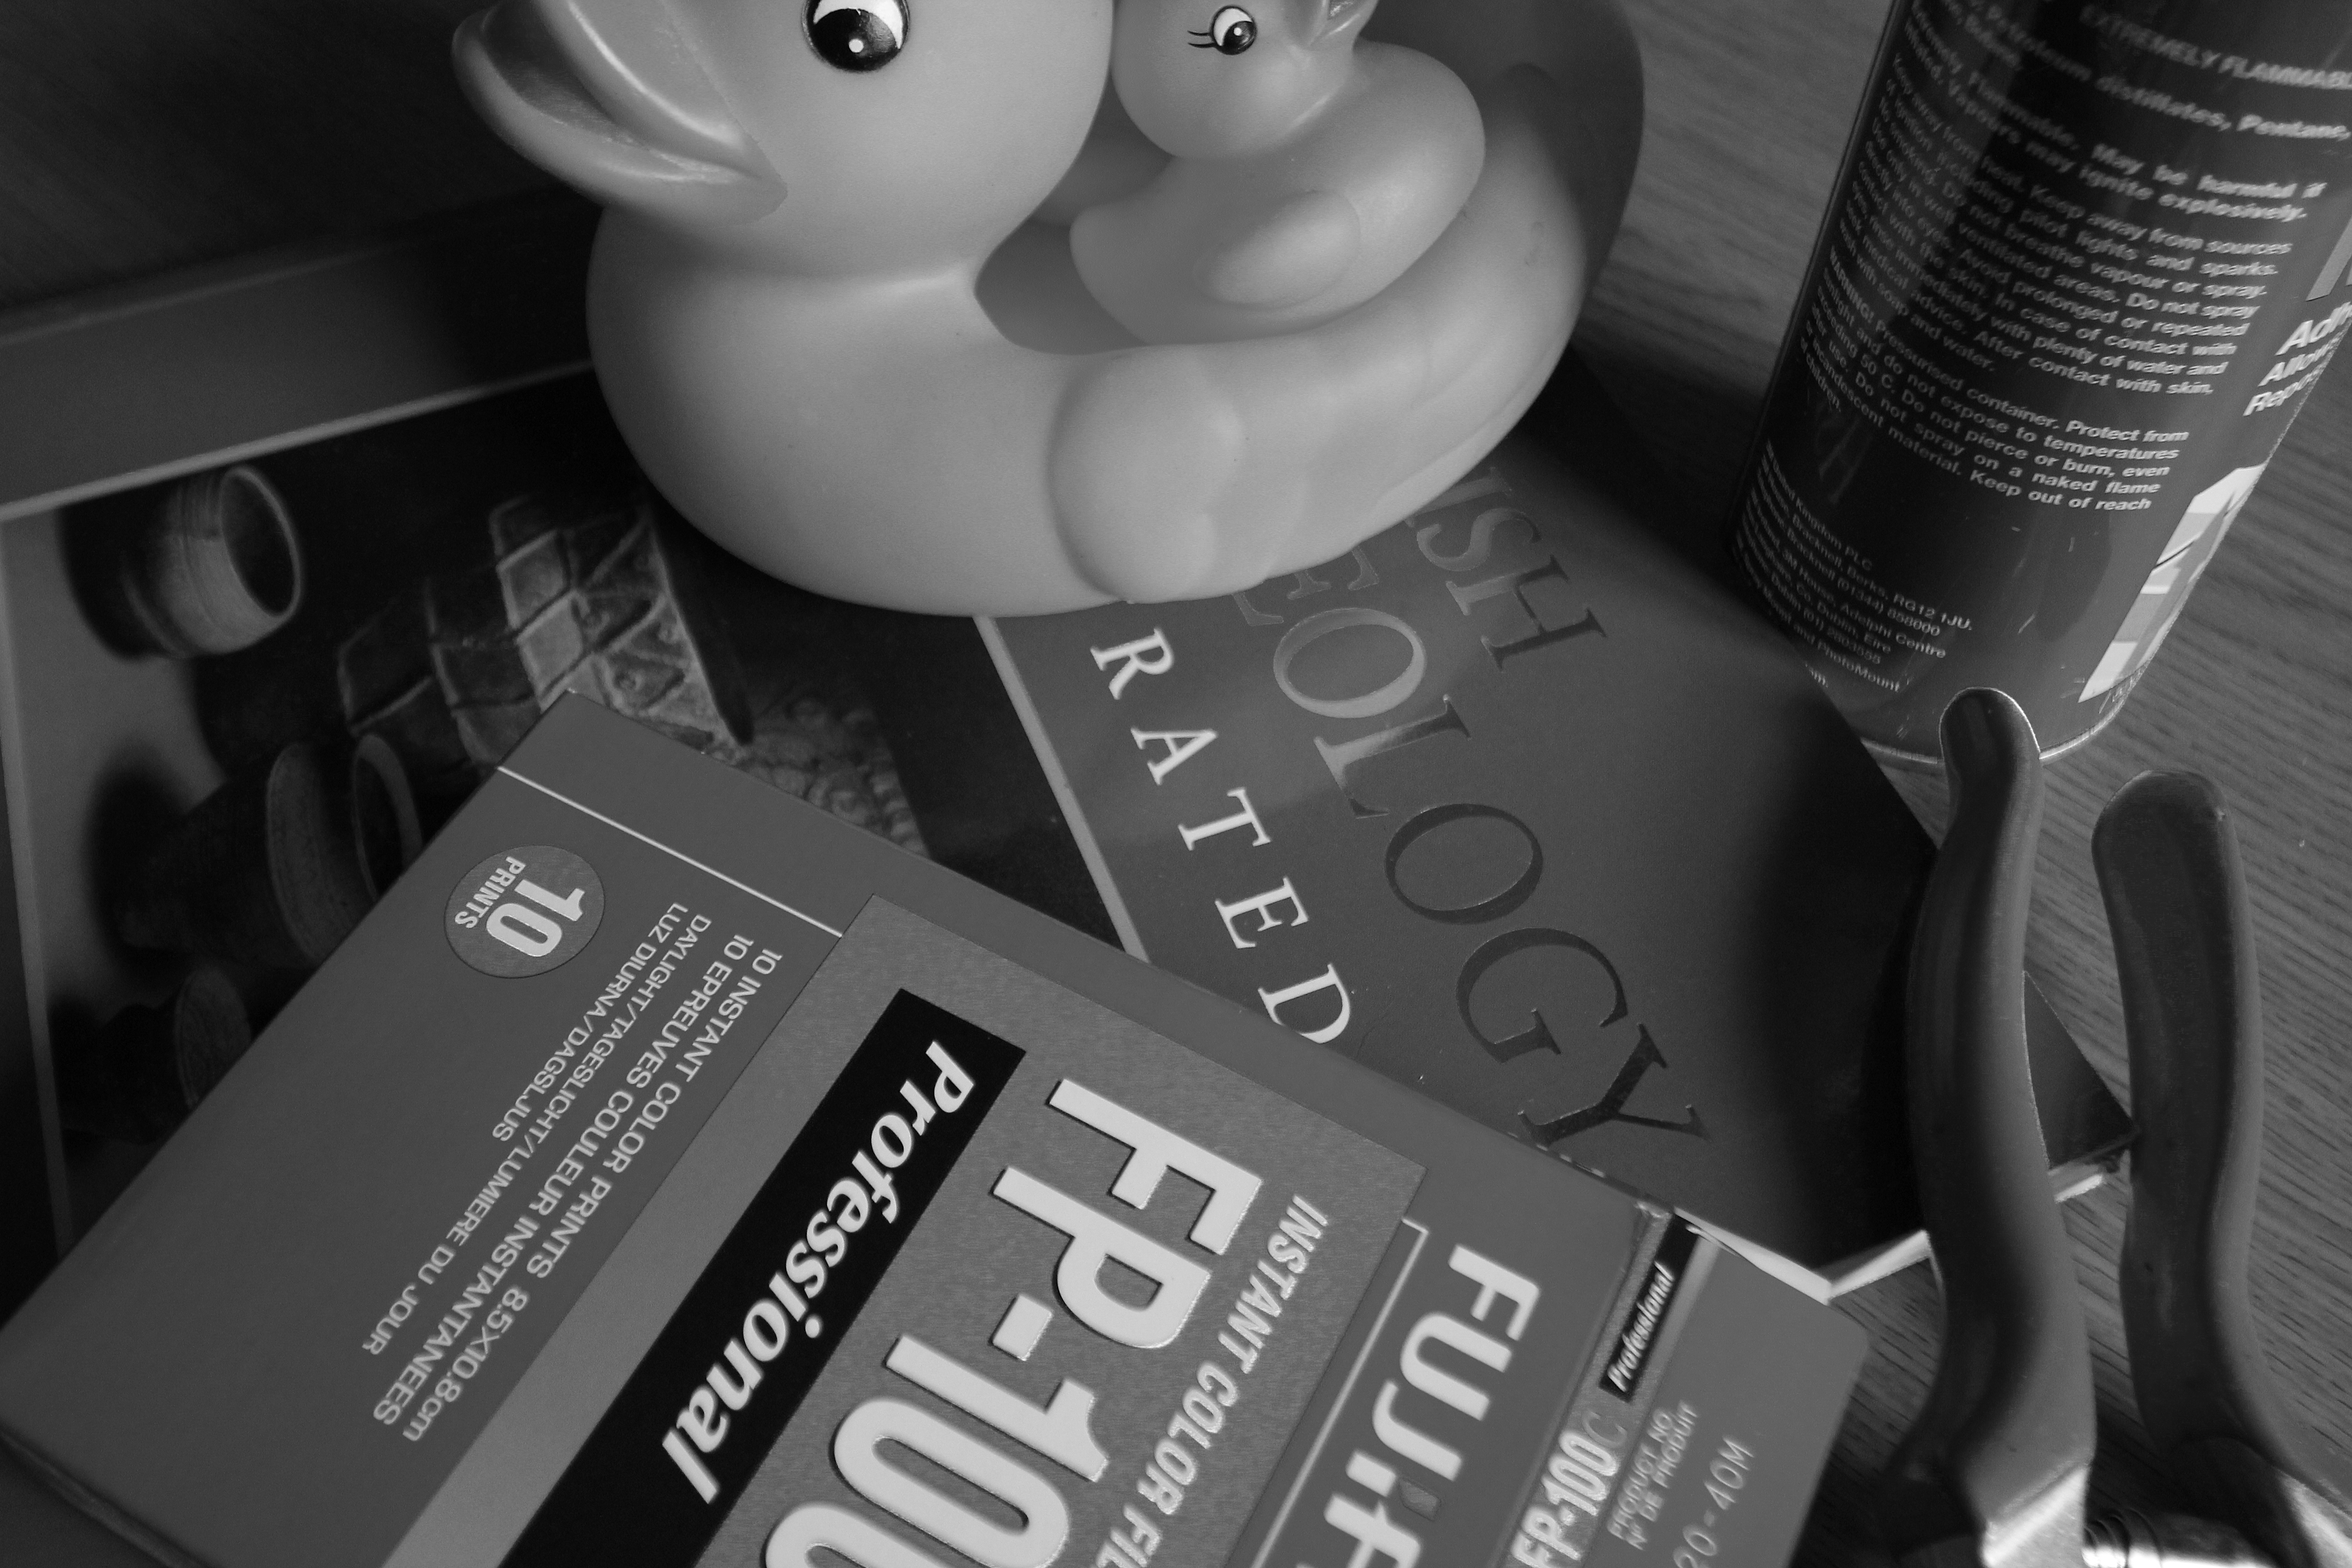
| Red darkened. |
Darkening the reds here affects not just the clipper handles and the red panel on the package, but also the duck's beak and also the photograph on the front of the book.
 |
| Blue darkened. |
The blue book and can here become black.
 |
| Yellow darkened. |
This is perhaps the least "life-like" rendering to result from these manipulations, as the duck has become a coot. The horizontal band within the text on the package also has its variations emphasised.
I making these adjustments I found with most that I was making judgements in moving the sliders, rarely using the extremities of the scales as the results became very tonally distorted, which I felt distracted from the object of the exercises.

No comments:
Post a Comment